How To Hang Your Artwork Like a Pro
It goes without saying that how and where you hang your art matters. And while virtually everyone has something hanging on their walls, it’s a process that’s not widely understood. But that doesn’t mean it’s complicated. We’ll set out to answer the most common questions people have, after which you’ll be hanging art like a professional. So without further ado, let’s begin with the single most common question when it comes to hanging wall art…
How High Should I Hang My Artwork?
People tend to hang pictures and other artwork pieces too high, creating a disconnect from other elements in the room. The goal is to create harmony, and hanging artwork too high will make any piece feel unanchored. So, how high to hang a picture on a wall?
The most important thing to keep in mind is that your pictures should be centered at eye level. That can mean different things to different people, so as a general rule of thumb, the center of the frame should be 58 inches off the floor. Be aware that the wire sits above the midpoint of the frame, so you can’t simply place the hanger or hanging hardware at 58 inches. Instead, follow these simple steps to determine the ideal artwork or picture hanging height:
- Get a measuring tape and mark 58 inches on your gallery wall.
- Measure the height of your frame and divide by two (giving you the center point).
- Measure from the top of the frame to the wire (make sure the wire is tight, as though it were hanging on the gallery wall).
- Subtract the results of step 3 from the results of step 2.
- Add the results of steps 4 to 58, and that’s where you place your hanger.
If this seems overly complicated and technical, here’s an example to illustrate just how simple it really is to get the perfect picture hanging height:
- Measure and mark 58 inches on your gallery wall.
- Let’s assume your frame is 24 inches tall, divided by 2 = 12.
- Let’s also assume that the distance between the top of the frame and the wire is 5 inches.
- Subtract the 5 from 12 = 7.
- Adding 7 to 58 = 65 inches, which is the correct height to place your hanger.
How do you know if your marks have become too high to hang framed photos? Simply put, how high should pictures be hung? And what about if you have high ceilings or tall family members? How high do you hang a picture on the wall in such cases?
If you’re a particularly tall family or you have high ceilings at home, feel free to bump the hanging point or midpoint up to 60 inches. Conversely, if you’re more vertically challenged, make the midpoint 57 inches. The key takeaway here is that you hang pictures, posters, and other artwork pieces at eye level.
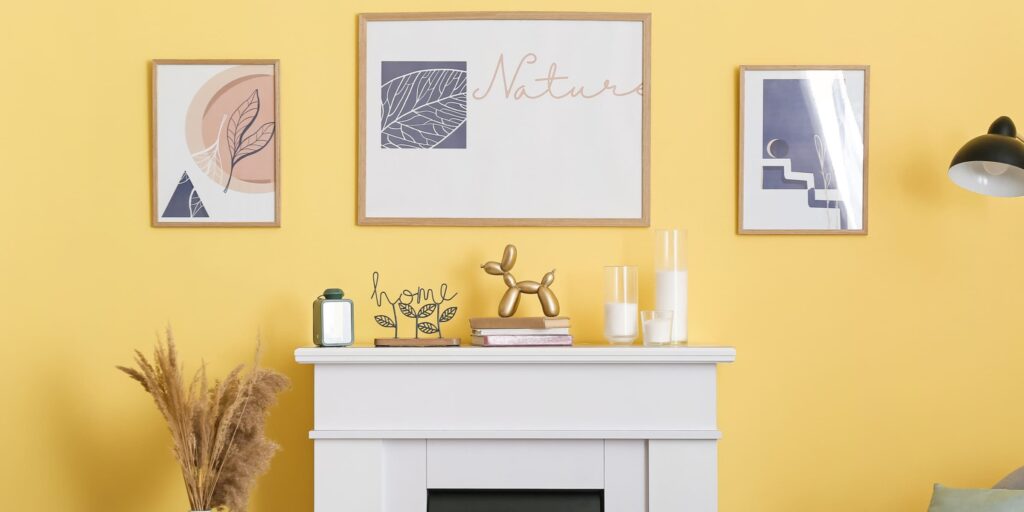
What if I’m Hanging Multiple Picture Frames as a Group?

If you’re planning on hanging several pictures as part of a group, simply treat the collection as if it were one piece of wall art. You’ll obviously need to measure each individually, but you’ll want the focal point of the grouping to be 58 inches off the floor. You may want to consider custom framing to achieve an eclectic yet charming arrangement. And if hanging wall groupings sounds tedious and time-consuming, you’ll be surprised how quickly you get the hang of it. Importantly, it can be a great way to artfully cover a large empty wall space without spending a fortune on a single giant piece. If you’re looking for inspiration, check out recommendations from designer Fleming James on how to hang frames of different sizes and get started on your gallery wall.
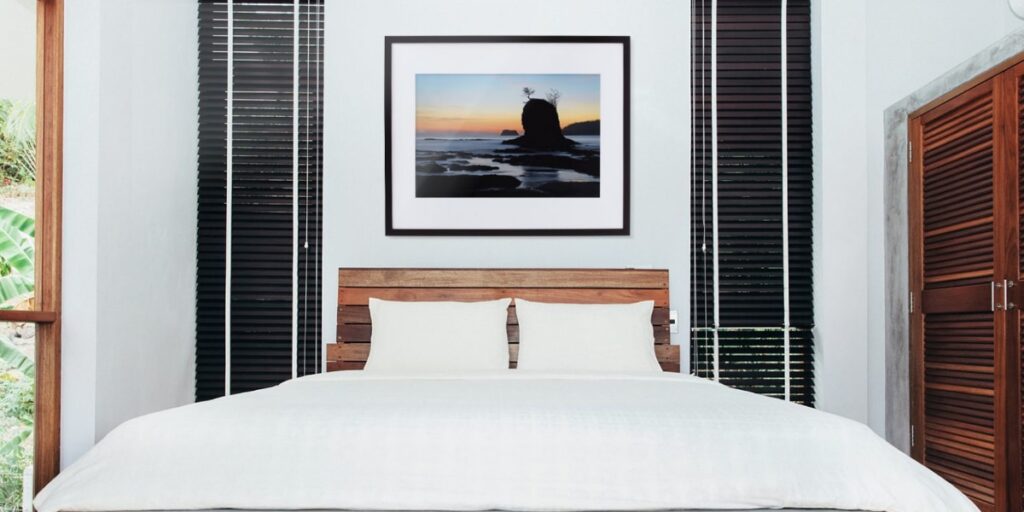
What About Hanging Pictures Above Furniture?
Hanging pictures or artworks that are too small above a furniture piece is a no-no as they will be easily overwhelmed by the furniture’s scale. Similarly, you shouldn’t hang framed prints or photos that are way too big above a console table, shelves, or any other piece of furniture. You don’t want your art to look completely disproportionate.
When hanging a picture above furniture, the rules change a bit. In these cases, the bottom of the frame should be placed 8-10 inches above the top of the furniture. This can come into conflict with the 58-inch midpoint, particularly with low, modern furniture. As we mentioned above, your pictures must be a natural and connected part of their surroundings, so you may want to consider a larger frame or grouping of smaller ones if a piece is simply too low on your gallery wall. While you’re at it, avoid hanging pictures in direct sunlight or directly below or above heat sources.
Also, hang art above furniture with this in mind: the width of the piece should be between 65% and 85% of the total width of the furniture. It’s a simple formula that ensures your artwork will be properly scaled relative to the furniture it rests above. This can be tricky when you need to hang art above furniture that’s particularly wide, like a sofa. In these cases, it may be best to try a diptych or a triptych, which are works of art that come in sets of two or three. That can be a great way to add width as you hang artwork pieces and keep them visually consistent. Here’s an example of interior designer Orlando Soria framing five prints from a single, panoramic photograph. As you can see, it’s a great way to create something visually appealing yet relatively simple and inexpensive to pull off.
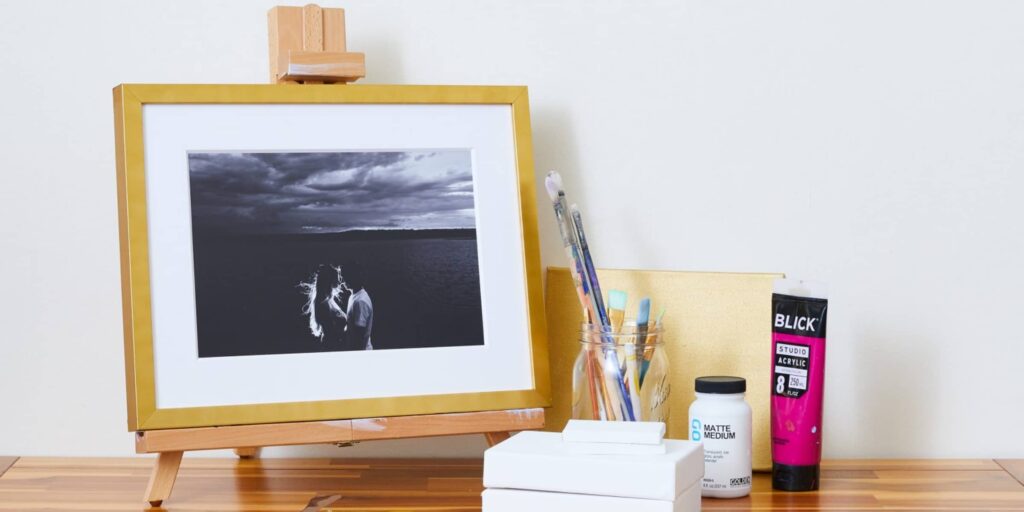
But I Don’t Want to Put Holes In The Wall…
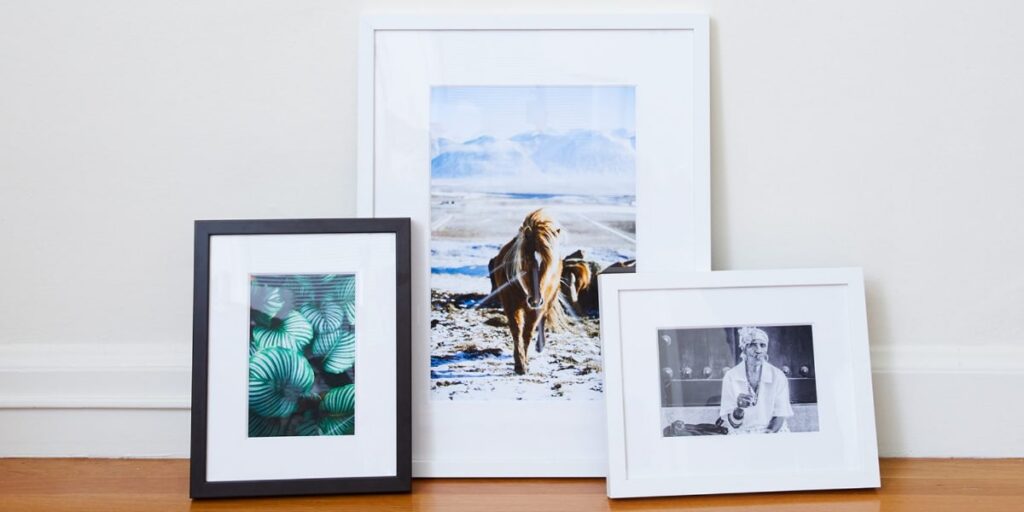
Don’t fret, you still have some options. The easiest thing to do if you don’t want to put holes in your walls is to simply lean work against the wall space. This can be a particularly effective approach if you have floating shelves or mantles, which pull the artwork up off the floor. Desks and bookshelves are also a great way to put the lean technique into use. That being said, there really aren’t any rules when it comes to leaning wall art, so you’re only limited by your imagination. Feel free to lean multiple picture frames together, with the corner of one frame overlapping with the corner of another. If you want to get even more creative, lean a framed piece of art on an easel. Done correctly, it can really enhance the visual balance and impact of your pictures. I’d add that even if you have most of your artwork hanging from your walls, you can still have a few pieces lean in a very intentional way. Even companies like washing machine repairs in Sydney have experimented with hanging pictures and artwork pieces in their offices to help calm customers. It can be a great way to add some personalization.
So, There Really Aren’t Any Rules?
Yes and no. When you know how high to hang a picture and follow the rule of thumb on hanging your art correctly, you’ll ensure that your artwork is anchored to all the other elements in your room. This goes a very long way toward creating a harmonious look and feel throughout your home. That said, there’s always room to incorporate your own personal and creative touches. So hang pictures and your other most prominent pieces according to the rules above, and then feel free to fill in with your personal touches. And as Fleming mentioned in the interview I linked above, there’s no need to rush. Take your time, follow the basics, and be amazed by how everything comes together.
Honor the special moments from your big day with our picture framing services that tell more than a story.
Let us help you frame your precious moments. Gallery quality, not gallery prices. With six sizes to choose from, the selection process is simplified, the cost is straightforward, and shipping is always free.
Order Now